ADVERTISEMENT
Introduction
Welcome to our comprehensive guide on making non-dairy, sugar-free strawberry ice cream using the Ninja Creami. This recipe is perfect for those who are lactose intolerant, vegan, or simply looking to reduce their sugar intake without sacrificing taste and creaminess. In this detailed recipe, we will walk you through each step, provide useful tips, and explain the nutritional benefits of our ingredients.
Equipment Needed
Ninja Creami machine
Blender
Pint container (included with Ninja Creami)
Measuring cups and spoons
Freezer
Ingredients
1 can (15 oz) full-fat coconut milk: Coconut milk is an excellent dairy substitute, providing a rich and creamy texture.
1/3 cup monk fruit sweetener: A natural, zero-calorie sweetener that doesn’t spike blood sugar levels.
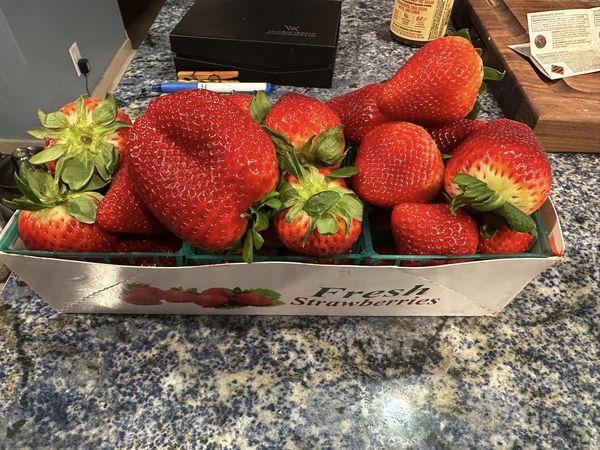
1 cup fresh strawberries: Strawberries add natural sweetness, flavor, and a vibrant color.
1 teaspoon vanilla extract (optional): Enhances the overall flavor profile of the ice cream.
Step-by-Step Instructions
1. Prepare Your Ingredients
Start by gathering all your ingredients. Ensure your strawberries are fresh, hulled, and chopped. Open your can of full-fat coconut milk and measure out your monk fruit sweetener.
2. Blend the Ingredients
In a high-powered blender, combine the coconut milk, monk fruit sweetener, and chopped strawberries. If you choose to add vanilla extract, do so at this stage. Blend the mixture on high until it is smooth and fully integrated. This blending process ensures that the strawberries are thoroughly pureed and the monk fruit sweetener is evenly distributed.
3. Prepare the Mixture for Freezing
Pour the blended mixture into the Ninja Creami pint container. Make sure not to overfill the container to allow room for expansion as it freezes.
4. Freeze the Mixture
Place the lid on the pint container and ensure it is securely closed. Place the container in the freezer and freeze for at least 24 hours. This ensures the mixture is completely solidified and ready for the Ninja Creami processing.
5. Set Up the Ninja Creami
After 24 hours, remove the frozen pint from the freezer. Install the pint into the Ninja Creami machine as per the manufacturer’s instructions. Ensure that it is properly locked into place before proceeding.
6. Process the Ice Cream
Select the “Ice Cream” setting on the Ninja Creami and start the machine. The machine will process the frozen mixture into a creamy and smooth ice cream. This usually takes a few minutes.
7. Check the Consistency
Once the processing is complete, check the consistency of the ice cream. If you prefer a firmer texture, you can refreeze the ice cream for an additional hour or two. For a softer, gelato-like consistency, it can be enjoyed immediately.
8. Serve Your Ice Cream
Scoop the freshly made ice cream into bowls or cones. Garnish with fresh strawberries, shredded coconut, or a sprig of mint for an added touch.
9. Storage
If you have any leftovers, store them in the Ninja Creami pint container with the lid securely on. Keep it in the freezer, and it should remain good for up to three months.
For Complete Cooking STEPS Please Head On Over To Next Page Or Open button (>)
ADVERTISEMENT
