ADVERTISEMENT
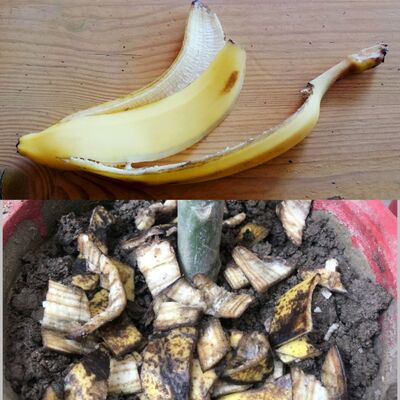
Place the cut banana peels into your jar or container. Fill it about halfway, leaving enough room for water.
Step 4: Add Water
Pour water into the jar, making sure to cover the banana peels completely. Seal the jar with the lid.
Step 5: Let it Ferment
Now comes the magic part – fermentation! Leave the jar in a cool, dark place for about a week. During this time, the banana peels will break down, releasing valuable nutrients into the water.
Step 6: Strain the Liquid
After a week, strain the liquid from the jar into another container. This liquid is your homemade banana peel fertilizer.
Step 7: Dilute and Water Your Plants
To use your banana peel fertilizer, dilute it with water. A general guideline is to mix one part banana peel liquid with five parts water. You can adjust the concentration based on your plants’ needs. Use the diluted mixture to water your plants, applying it directly to the soil around the base.
Benefits of Using Banana Peel Fertilizer
Using homemade banana peel fertilizer offers several advantages for your garden:
Rich in Nutrients: Banana peels are a great source of potassium, promoting flower and fruit development in plants. They also contain phosphorus and calcium, vital for root growth and overall plant health.
Cost-Effective: It’s an eco-friendly and cost-effective way to provide essential nutrients to your plants.
Reduced Waste: Repurposing banana peels reduces kitchen waste and benefits your garden at the same time.
Environmentally Friendly: This natural fertilizer is free from harmful chemicals, making it environmentally friendly.
By following these simple steps, you can transform discarded banana peels into a valuable resource for your garden. Give it a try, and watch your plants thrive with the power of homemade banana peel fertilizer. Happy gardening!
ADVERTISEMENT

