ADVERTISEMENT
Now that your wet ingredients are ready, it’s time to incorporate the dry components. Sift together the cocoa powder, salt, baking soda, and flour in a separate bowl to avoid any lumps. Gradually add the sifted dry ingredients to the wet mixture, stirring continuously to form a smooth, thick batter. This batter should have a consistency that’s thick but still slightly sticky.
4. Forming the Chocolate Lava Core
The key to making the perfect chocolate lava bars is creating a molten chocolate center that melts when baked. To do this, scoop about 2 teaspoons of the dough for each bar. Place a few semi-sweet chocolate chips in the center of each dough portion, then fold the dough around the chocolate chips to form a ball. This extra chocolate will melt during baking, creating a molten core.
Place the formed dough balls on a lined baking sheet, spacing them about 2 inches apart to give them room to spread as they bake.
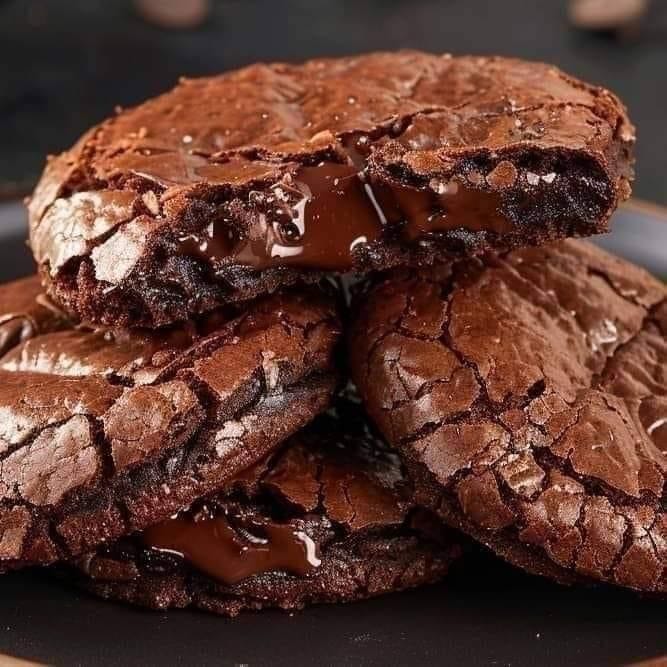
5. Baking Your Squishy Chocolate Lava Bars
Preheat your oven to 350°F (175°C) and place the baking sheet in the center of the oven. Bake for 10-12 minutes. The bars are done when the tops have crackled and the edges are firm, but the centers should still look slightly underbaked.
Be careful not to overbake, as this will eliminate the gooey, molten texture that makes these bars so special. The centers should remain soft and squishy for that perfect chocolate lava effect.
6. Cooling and Serving
Once the bars are out of the oven, let them cool on the baking sheet for about 5 minutes before transferring them to a wire rack to cool completely. While they are delicious at room temperature, the best time to enjoy these treats is when they’re still warm, with the molten center oozing out as you take a bite.
To serve, dust the top of the bars with powdered sugar or add a scoop of vanilla ice cream for an extra indulgent dessert. The cold ice cream paired with the warm, gooey center creates an irresistible combination.
ADVERTISEMENT

