ADVERTISEMENT
Add to Jar: Place the crushed garlic cloves into a clean glass jar. Ensure the jar is sterile to prevent any unwanted bacteria from interfering with the fermentation process.
Pour Honey: Pour the raw honey over the garlic cloves, ensuring all the garlic is covered. Raw honey is essential as it contains natural enzymes that help with the fermentation process.
Step 3: Fermentation Process
Mix Well: Stir the garlic and honey mixture well to ensure that the garlic is fully coated in honey.
Cover and Store: Place a lid on the jar but don’t tighten it too much. Fermentation produces gases that need to escape, so a loosely fitted lid or a fermentation airlock is ideal.
Stir Daily: For the first few days, stir the mixture daily to ensure all garlic cloves are evenly coated and submerged in honey. After this, you can stir it every few days.
Step 4: Ferment
Wait: Allow the garlic to ferment at room temperature. The fermentation process can take anywhere from a few weeks to a couple of months. You’ll notice bubbles forming, which is a sign that fermentation is occurring.
Check Taste: After about a month, taste the garlic. It should have a mellow, slightly tangy flavor. The longer it ferments, the more pronounced the flavor will become.
Step 5: Store
Transfer: Once the garlic has fermented to your liking, you can tighten the lid and store the jar in a cool, dark place or in the refrigerator.
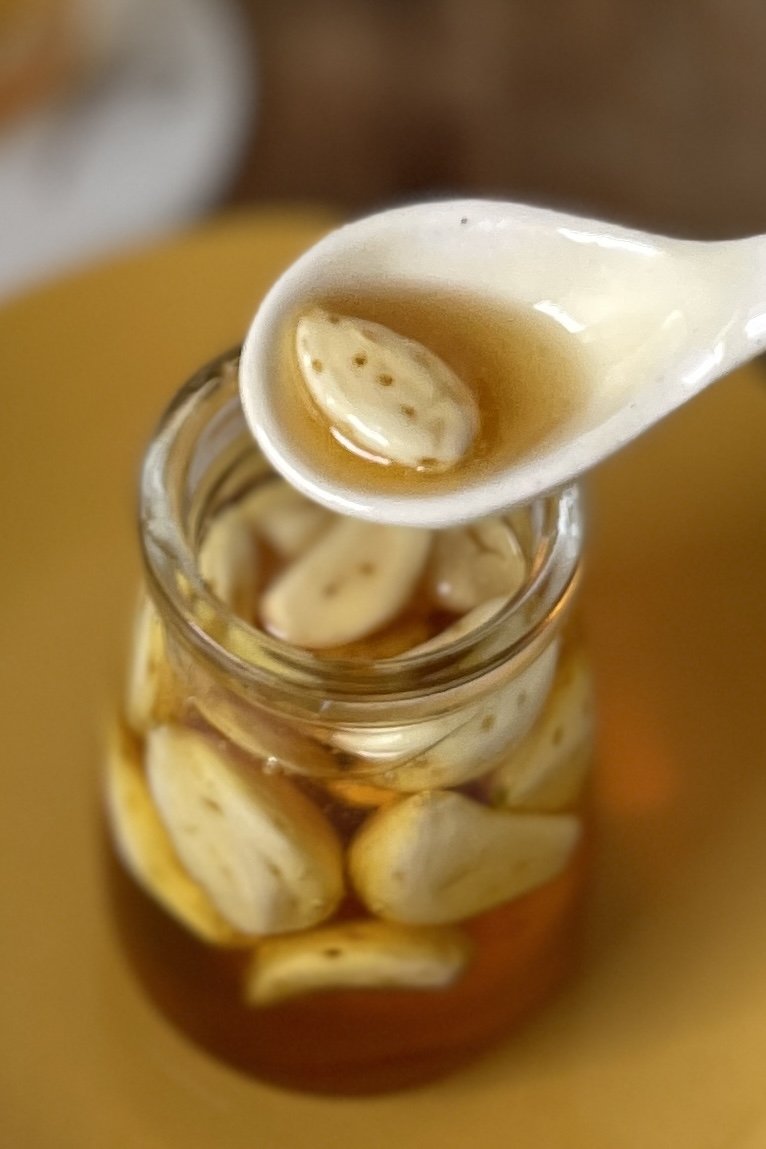
Use: Fermented garlic in honey can be used in various ways. Take a spoonful daily for its health benefits, use it in dressings, marinades, or simply eat it as a sweet and tangy treat.
Conclusion
Making fermented garlic in honey is a simple and rewarding process. This potent combination not only tastes great but also provides numerous health benefits. Try making it at home and enjoy the natural boost to your immune system and overall well-being!
ADVERTISEMENT

