ADVERTISEMENT
After the rest period, the mixture should have a firm structure. Use a knife to cut the cheese curds into small cubes.
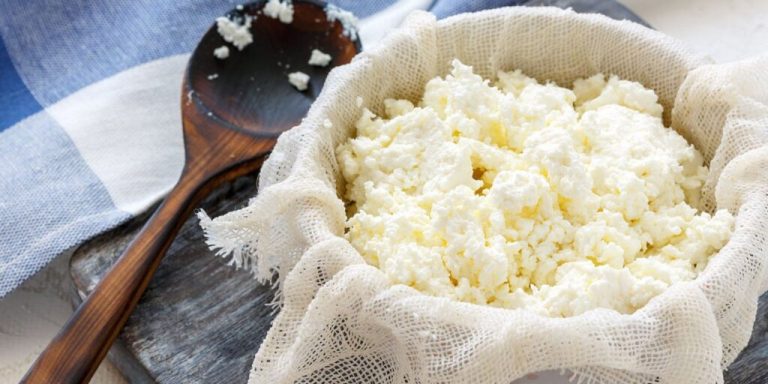
5. Drain Cheese:
Line a sieve or cheese mold with clean cheesecloth.
Place the sliced cheese curds in the cloth and allow to drain. The resulting whey can be saved for other culinary purposes.
Cover the cheese with the cloth and let it drain overnight.
6. Shape and season the cheese:
Remove the drained cheese from the cloth and shape it as desired. You can create small balls, loaves, or individual portions.
Sprinkle the cheese with salt or add other spices to taste. You can also use fresh herbs, pepper or paprika.
7. Storing Cheese:
Store the homemade cheese in an airtight container in the refrigerator. The cheese is now ready to eat.
8. Enjoy:
Enjoy the homemade cheese as you wish. It is ideal as a spread on bread, in salads or as an ingredient in a wide variety of recipes.
Homemade cheese is not only a culinary delight, but also a satisfying DIY project. With just a few ingredients and a little patience, you can make your own cream cheese that impresses with its creamy taste and versatility. Experiment with spices and herbs to flavor your cheese to your liking. Enjoy your meal and have fun making cheese!
ADVERTISEMENT

